

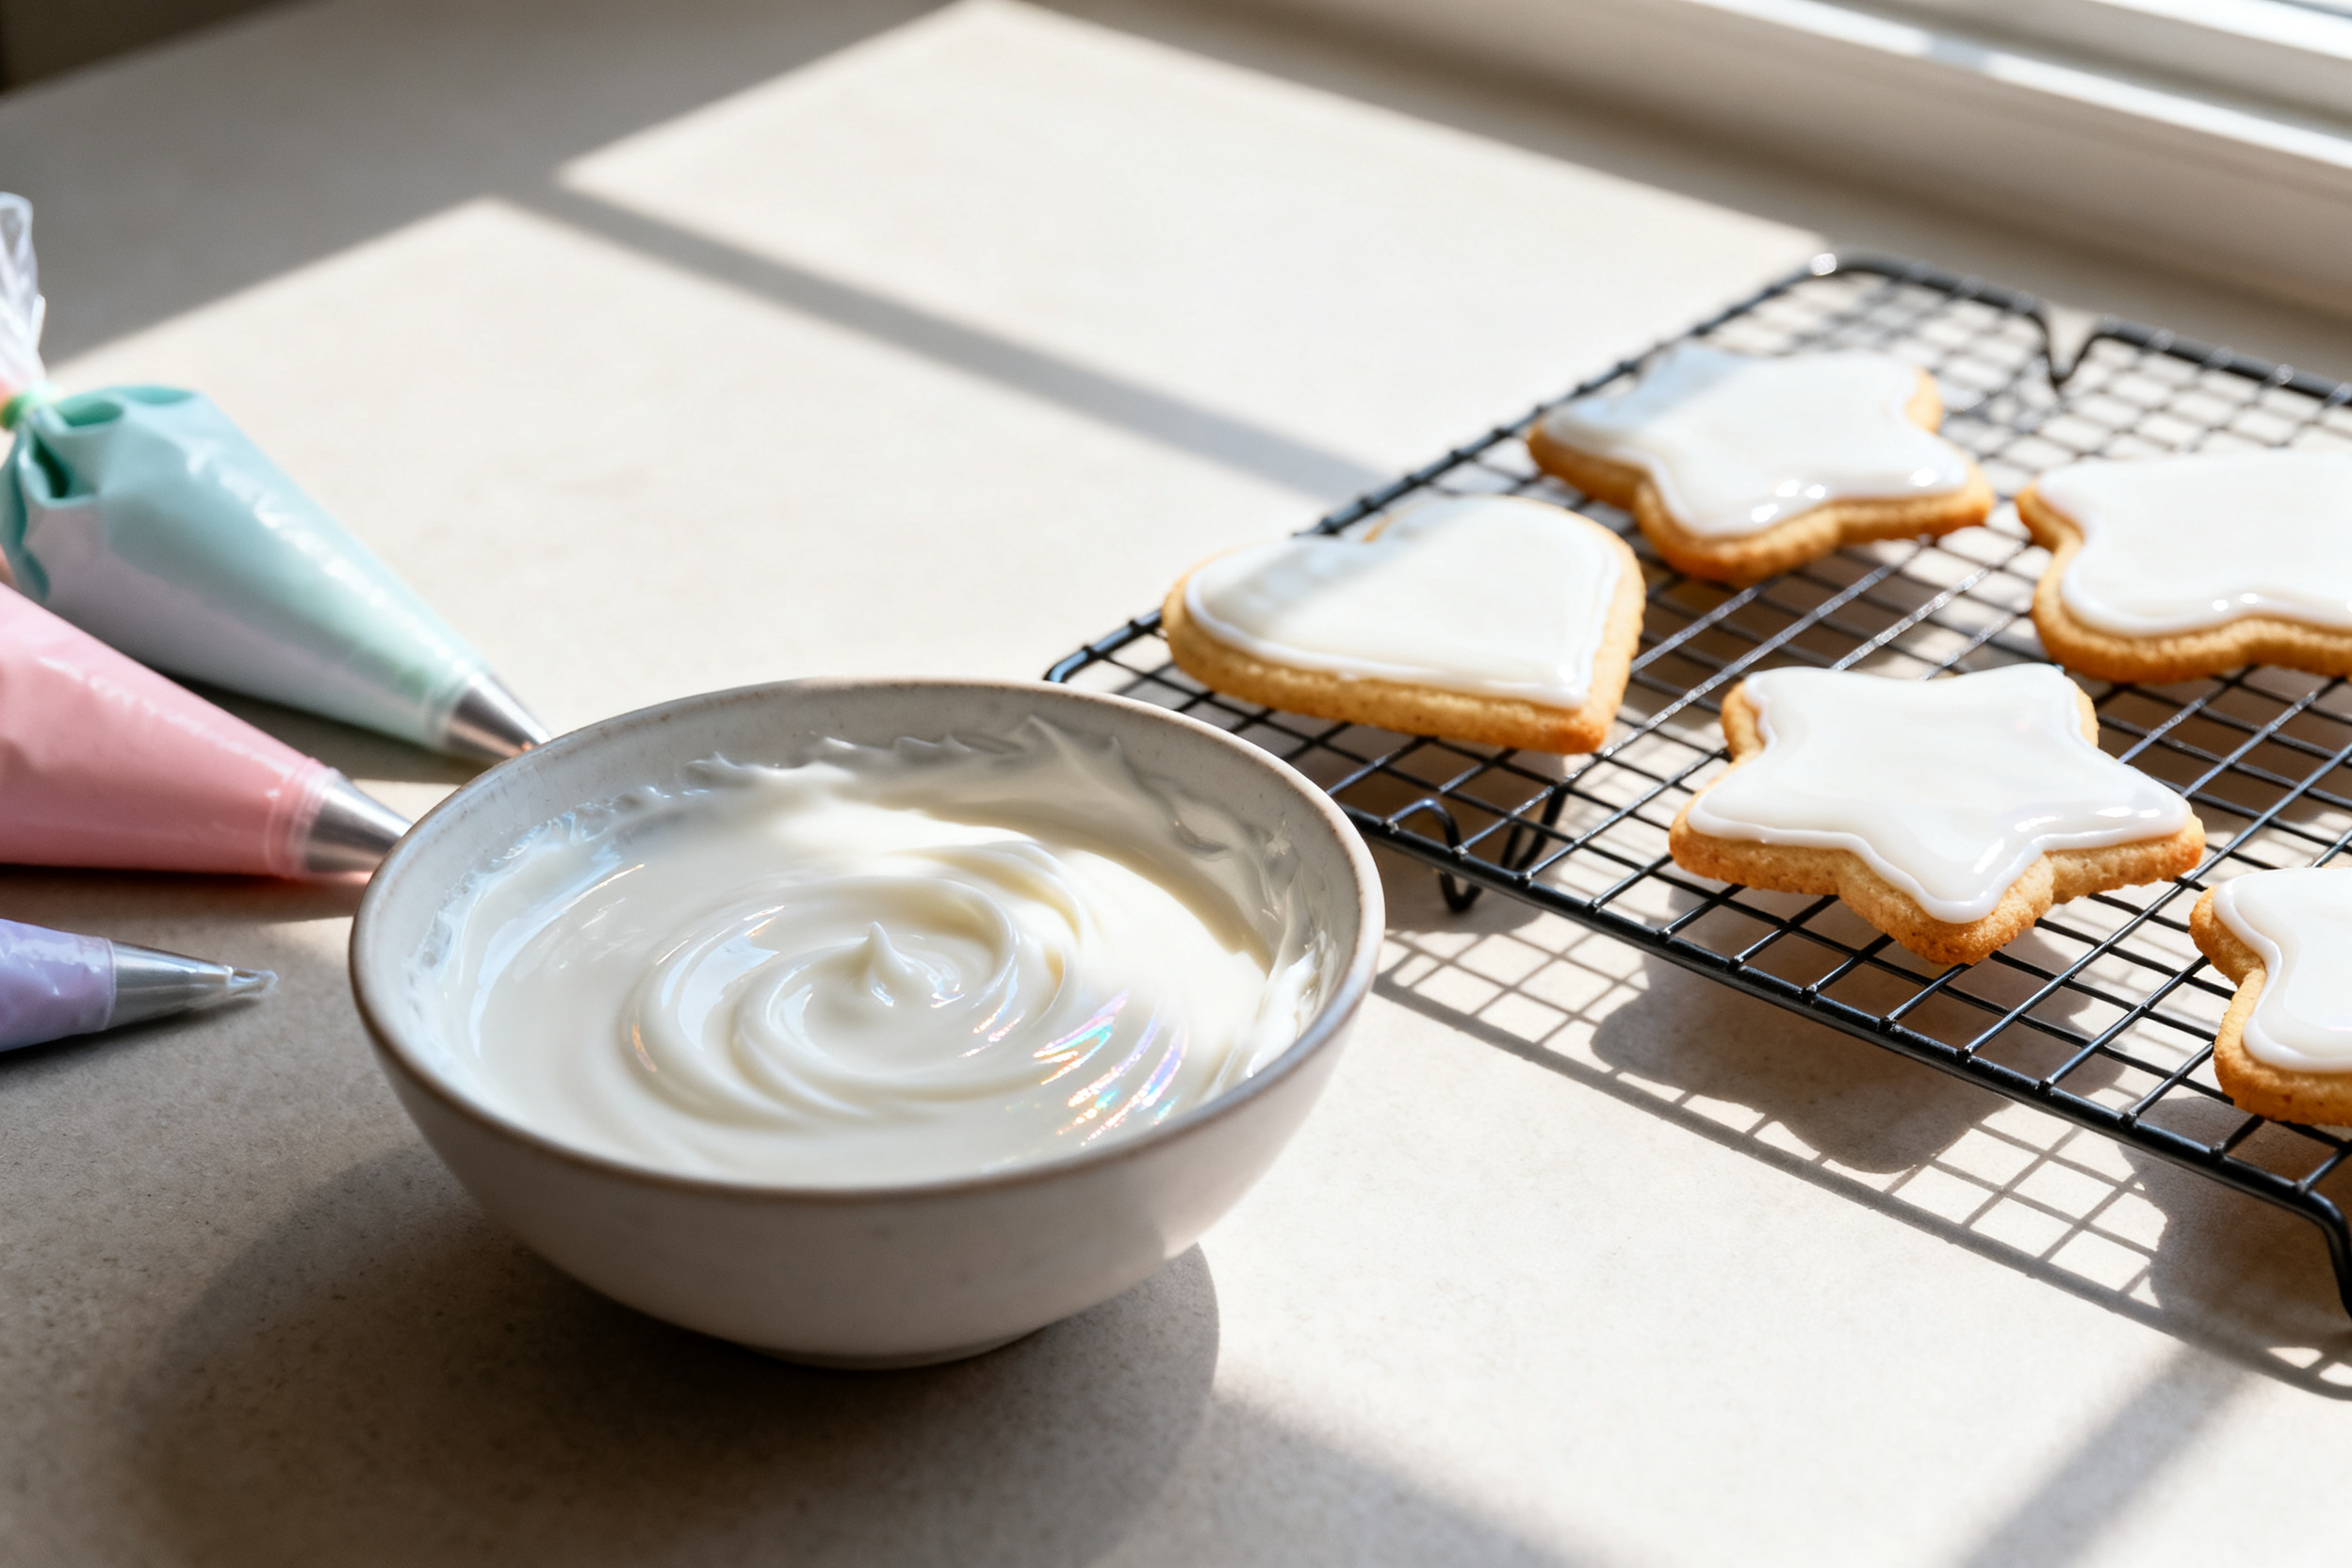
This is my go-to No Eggs Icing for Decorating Cookies DIY decorating method. It mixes up in minutes, pipes like a dream, and dries with a smooth, light shine. No specialty ingredients, no stress, just dependable icing that makes home-baked cookies look like bakery treats.
I keep the flavors classic and the steps simple, with clear cues so you can nail outline and flood consistencies on the first try. You can flavor it, color it, and store it ahead without it crusting over in the bowl.
Why This No Eggs Icing for Decorating Cookies DIY decorating Works
Egg-free icing should still be glossy, pipeable, and tasty. This one uses powdered sugar + a touch of light corn syrup for shine and a soft bite, plus just enough milk or water to reach the right consistency. It dries firm enough to stack but not rock hard, so your cookies are easy to eat.
The best part is control. You’ll learn the simple “second count” test to switch from outlining to flooding without guesswork. The flavor is balanced with vanilla and a whisper of almond, which boosts that classic bakery-cookie taste. If you’re planning a cookie day, it pairs perfectly with cut-outs like these classic Christmas sugar cookies.
What You’ll Need for Smooth, Shiny Icing
A few pantry staples make a glossy icing that sets beautifully. Powdered sugar is the base, corn syrup adds shine, and a small splash of liquid fine-tunes the texture.
- 3 cups powdered sugar, sifted
- 3 tbsp milk or water, plus more as needed
- 2 tbsp light corn syrup
- 1 tsp pure vanilla extract
- 1/4 tsp almond extract, optional
- 1 pinch fine sea salt
- gel food coloring, optional, assorted colors
- 1 tsp lemon juice, optional, for brightness
 Save
How to Make the Icing
Follow these steps and use the second-count tests for consistent results.
- Sift the powdered sugar into a medium bowl to remove any lumps. This helps prevent clogged piping tips and gives a smooth finish.
- Add 3 tablespoons milk or water, the corn syrup, vanilla, almond extract if using, and a pinch of salt. Stir gently with a spatula or whisk until thick, smooth, and glossy, about 30 to 60 seconds.
- Adjust thickness a few drops of liquid at a time until a ribbon of icing disappears into the surface in 15 to 20 seconds for outlining. For flooding, thin a portion to an 8 to 10 second ribbon. Stir slowly to avoid air bubbles.
- If using lemon juice, stir it in now. Taste and adjust flavors; add a touch more vanilla or almond if desired.
 Save
- Divide icing among small bowls and tint with gel food coloring. Add color gradually with a toothpick, stirring until evenly blended. Let colors rest 5 minutes to develop.
 Save
- Transfer outline icing to piping bags fitted with small round tips (sizes 1 to 3 work well) or snip a very small opening in a zip-top bag. Pipe outlines on cooled cookies and let set 2 to 3 minutes.
- Thin icing for flooding if needed, then transfer to squeeze bottles or piping bags. Flood inside the outlines and use a toothpick or scribe tool to nudge icing to the edges and pop any bubbles.
- Let base layers dry at room temperature until the surface is set, 6 to 8 hours. Add details with thicker icing, then dry fully 12 to 24 hours before stacking or packaging.
Storage, Make-Ahead, and Drying Time
Store unused icing in an airtight container with plastic wrap pressed onto the surface to prevent crusting. Refrigerate for up to 1 week if made with milk, or hold at cool room temperature up to 3 days if made with water. Stir well before using to smooth out any bubbles or separation.
Decorated cookies need proper drying time. Let flood-coated cookies dry uncovered at room temperature until the surface is set, usually 6 to 8 hours. For fully stackable cookies with firm details, allow 12 to 24 hours in a low-humidity spot. Avoid the fridge for drying; condensation can cause colors to bleed.
To make ahead, mix the icing and color it, then store as above. If it thickens on standing, add a few drops of liquid and stir gently until silky again.
Common Mistakes to Avoid
- Skipping the sift: Lumps in powdered sugar create clogs in piping tips. Sift first for a smooth finish.
- Adding too much liquid at once: Go teaspoon by teaspoon so you don’t overshoot and end up with runny icing.
- Using liquid food coloring: It can thin your icing unexpectedly. Choose gel colors for vivid shades without extra water.
- Overmixing: Whipping in lots of air makes bubbles and pockmarks. Stir gently just until smooth.
- Flooding immediately after outlining: Give outlines 2 to 3 minutes to set so they hold the flood neatly.
- Stacking too soon: Even if it looks dry, the center can be soft. Wait a full 12 to 24 hours before stacking.
 Save
Easy Variations and Smart Substitutions
- Dairy-free: Swap milk for water or unsweetened almond milk. It keeps flavor clean and helps the icing last at room temp longer.
- Flavor twists: Try 1/2 teaspoon lemon juice for brightness, 1/4 teaspoon peppermint for winter bakes, or 1/2 teaspoon almond extract for classic cookie-shop vibes.
- No corn syrup: Use 1 to 2 teaspoons light honey or glucose syrup. The sheen will be slightly different but still pretty.
- Extra white icing: A tiny dot of bright white gel color counteracts natural vanilla tint for crisp white details.
- Chocolate version: Whisk in 1 to 2 tablespoons Dutch-process cocoa and add 1 to 2 teaspoons extra liquid as needed.
What to Serve With Decorated Cookies
This icing loves classic cut-outs, sugar cookies, and simple shortbread. If you’re planning a cookie-decorating party, skim these helpful guides: festive decorating ideas, colors, and shapes and make-ahead baking tips for less stress. For a tried-and-true base, use your favorite sugar cookie dough or the classic cut-outs with easy icing and swap in the no-egg icing below.
Icing FAQ
How long does this icing take to dry on cookies?
For a smooth, touch-dry surface, plan on 6 to 8 hours at room temperature. For fully set layers you can stack or package, give them 12 to 24 hours. Humidity slows things down, so choose a cool, dry spot.
Can I make this icing without corn syrup?
Yes. Use 1 to 2 teaspoons light honey or glucose syrup for similar body. The finish will be slightly less glassy but still lovely. You can also skip it entirely and add 1 to 2 extra teaspoons milk or water; the icing will set a bit firmer and less shiny.
What’s the best way to color the icing?
Use gel food coloring. It’s concentrated, so you need only a tiny amount and it won’t thin the icing. Add a toothpick dab at a time, stir gently, and let the color sit 5 minutes to develop before adjusting.
How do I fix icing that’s too thick or too thin?
If it’s too thick, add liquid literally a few drops at a time until ribbons take 8 to 10 seconds to disappear for flooding. If it’s too thin, sift in more powdered sugar by the tablespoon, then restir gently.
Does the icing taste good or just sweet?
It tastes like a classic bakery glaze with vanilla and a hint of almond. You can brighten it with a little lemon juice or swap in your favorite extract to suit the cookie flavor.
A Sweet, Simple Finish
Once you learn the feel of this icing, you can decorate cookies confidently any time of year. It’s quick to mix, easy to color, and forgiving to adjust. Keep a bowl of it on the counter, a few piping bags ready, and let the cookies do the talking.

Best and Easiest No-Egg Cookie Icing
Smooth, glossy icing with no eggs that pipes clean lines and floods beautifully. Mixes in minutes, sets firm, and tastes like a classic bakery glaze.
Ingredients
Instructions
- Sift the powdered sugar into a medium bowl to remove any lumps. This helps prevent clogged piping tips and gives a smooth finish.
- Add 3 tablespoons milk or water, the corn syrup, vanilla, almond extract if using, and a pinch of salt. Stir gently with a spatula or whisk until thick, smooth, and glossy, about 30 to 60 seconds.
- Adjust thickness a few drops of liquid at a time until a ribbon of icing disappears into the surface in 15 to 20 seconds for outlining. For flooding, thin a portion to an 8 to 10 second ribbon. Stir slowly to avoid air bubbles.
- If using lemon juice, stir it in now. Taste and adjust flavors; add a touch more vanilla or almond if desired.
- Divide icing among small bowls and tint with gel food coloring. Add color gradually with a toothpick, stirring until evenly blended. Let colors rest 5 minutes to develop.
- Transfer outline icing to piping bags fitted with small round tips (sizes 1 to 3 work well) or snip a very small opening in a zip-top bag. Pipe outlines on cooled cookies and let set 2 to 3 minutes.
- Thin icing for flooding if needed, then transfer to squeeze bottles or piping bags. Flood inside the outlines and use a toothpick or scribe tool to nudge icing to the edges and pop any bubbles.
- Let base layers dry at room temperature until the surface is set, 6 to 8 hours. Add details with thicker icing, then dry fully 12 to 24 hours before stacking or packaging.
Notes
- Use gel colors for bright shades without thinning the icing.
- Corn syrup adds shine and a soft bite; honey or glucose can substitute in a pinch.
- Keep plastic wrap pressed directly on the icing in the bowl to prevent crusting.
- If colors start to separate in the bag, massage gently to recombine before piping.


Leave a Reply